How it works
Five steps from room to finished plan
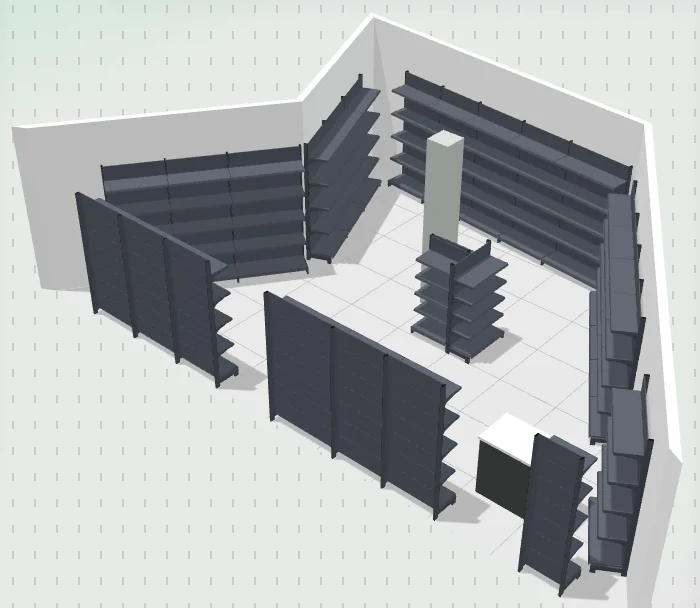
Everything happens in the browser. The images are real ModulX screens; the sample store is 10 × 7 m.
-
1
Room
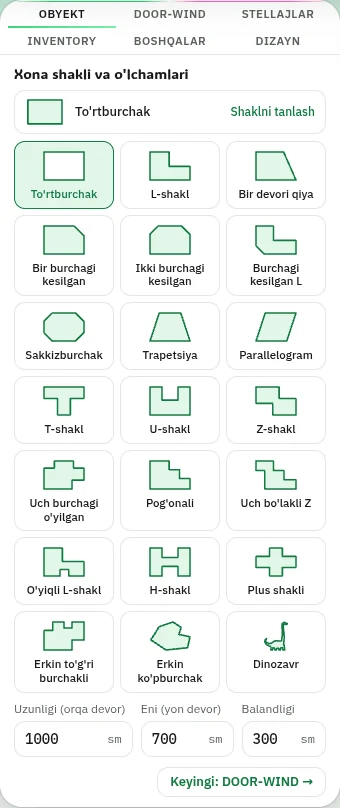
You choose a shape and enter its dimensions: length, width and height. There are 20 preset shapes, including a freeform polygon — for any room.
-
2
Doors and equipment
You put the doors and window openings, the checkout, refrigerator, air conditioner and column in place. You mark any area that needs no shelving with “Empty space”.

You pick the equipment on the toolbar and click its spot on the plan; the shelving goes around it. -
3
Automatic layout
Once the dimensions are entered, ModulX lays out the shelving on its own: along the walls, in the corners, double-sided rows in the middle and end caps at the ends of the rows. Aisle width is recommended based on the floor area, and the space in front of the door stays clear.
Along the wall Inner corner Double-sided End cap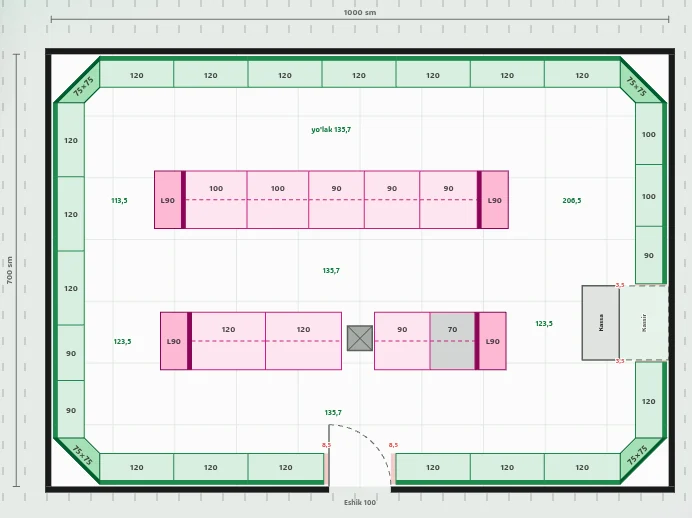
This store is 70 m²: ModulX recommended 110–140 cm aisles. -
4
Review and adjust
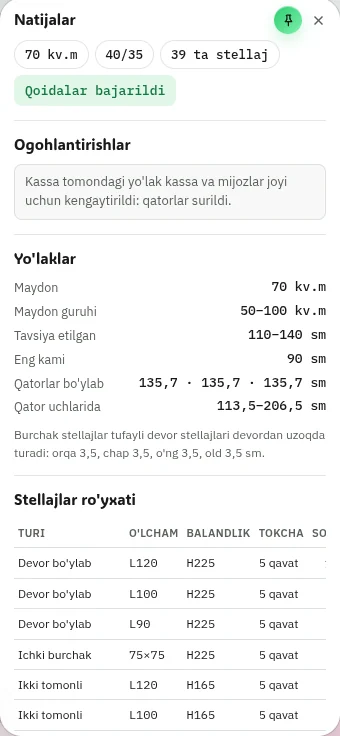
The results panel shows the floor area, number of shelving units, aisles and warnings. The manager moves a shelving unit, changes its length or deletes it; if there is a mistake, ModulX warns about it.
-
5
Result to the client
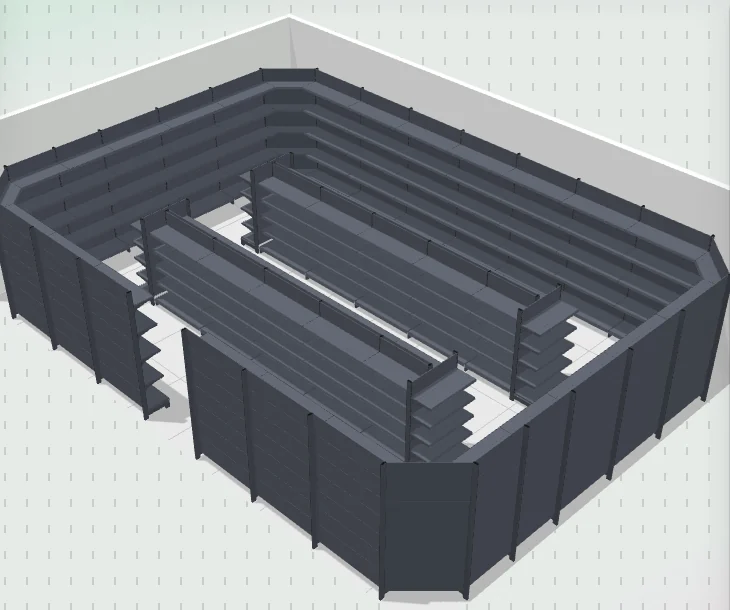
You check it in 3D, get a PDF or Excel file and send the client a link. All on the same day.
Result
What your client gets
- 2D planWith dimensions: walls, shelving, aisles, door.
- 3D viewEight preset views, including from the door and from the checkout.
- Shelving listType, size, height, shelf levels and quantity.
- PDF, Excel and linkYou hand over the file or send the link to their phone.
The plan can be changed later, too
The project stays saved, and your team views and changes it. If the client asks for a change, you don't redraw the plan — you adjust the part that needs it.
Give your client the plan the same day
Request a demo: we'll build the plan together using your client's store dimensions.